bedroom development all products
Launch offer · 20% off until December 16 · $79.20 instead of $99, applied at checkout
macOS 14.1+ Apple Silicon SONY mirrorless $99 $79.20 · one-time

Your inversion is decided before the shutter fires.

Loupe is a macOS tethering app for scanning film with a SONY camera. For each roll, it calibrates in RAW and works out the right scan exposure. It also gives you a focus assist with a live score that takes you past what peaking can show, to the point where focus is sharpest.

EXPOSURE ✓ CAL
RAW −0.37 EV @calib
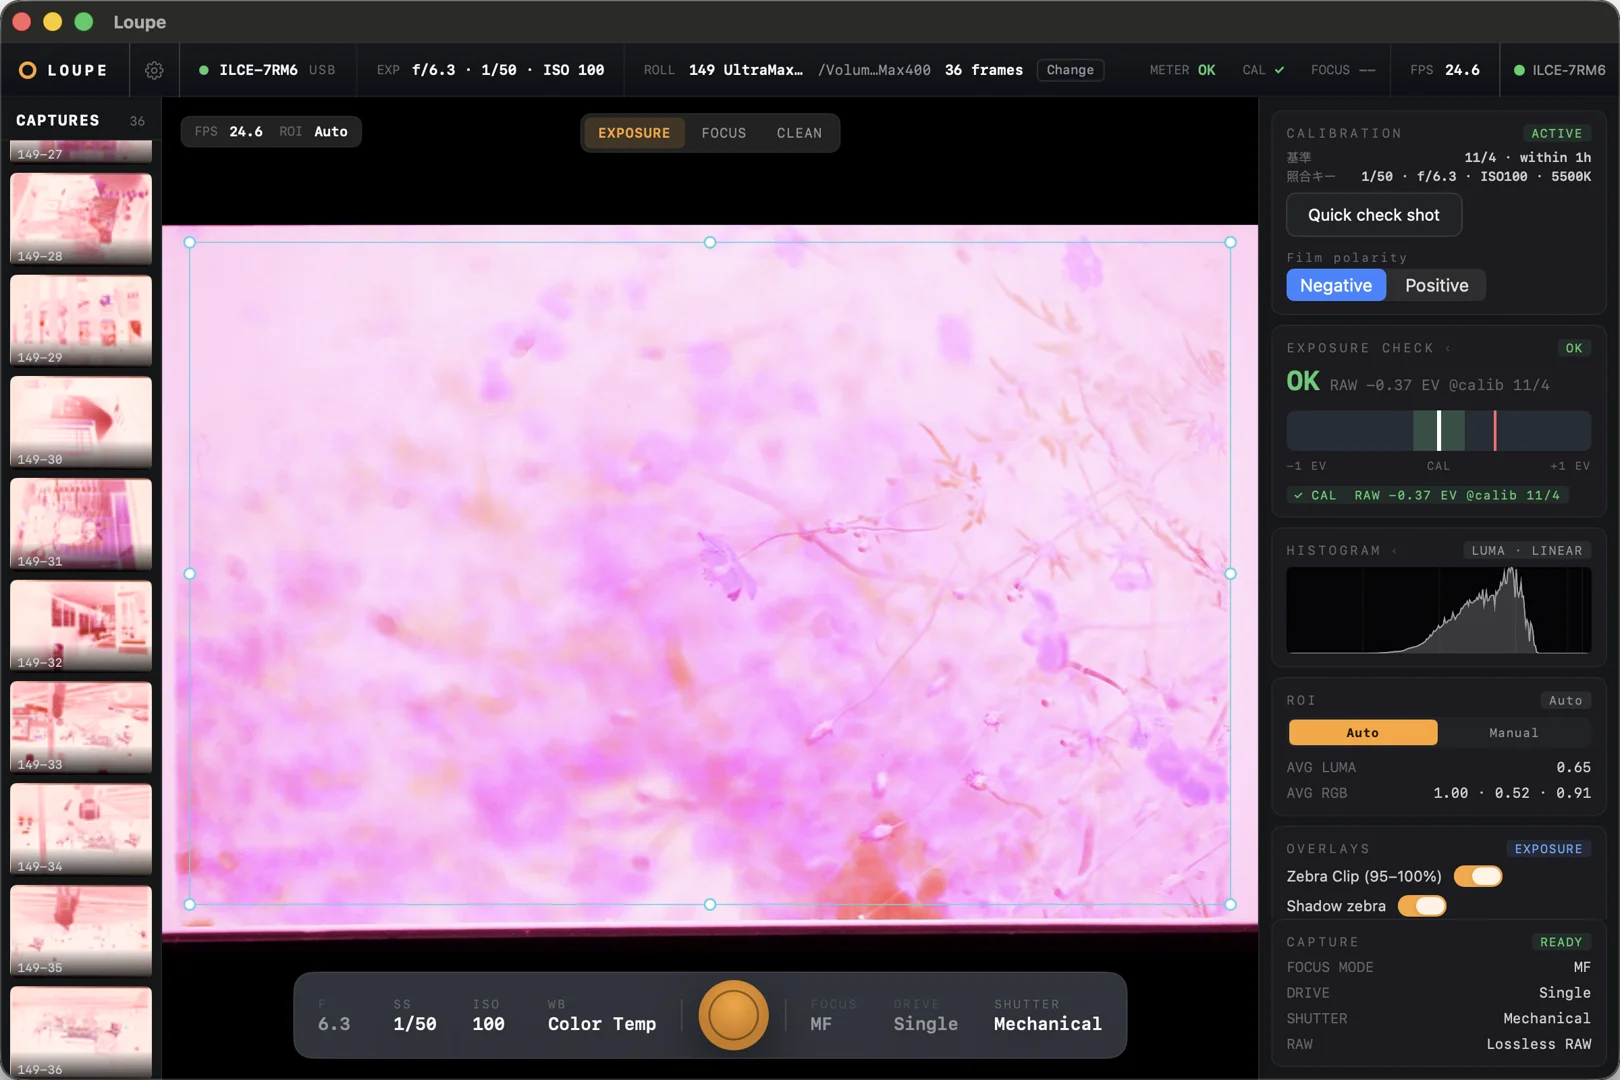
Loupe in Exposure mode with a negative in the live view: calibration active, Exposure Check reads OK at −0.37 EV against the calibration

Scan exposure decides your colour and your tonal range

Highlights that break into blotchy colour once inverted. A roll that won’t take the inversion settings that worked on the last one. One roll scanned over two sessions that don’t match. If the inversion settings don’t fix it, the cause may be the scan exposure. It decides two things you only see after inversion: the colour, and how much tone survives from the highlights to the shadows.

01

Clip the base, and the colour won’t settle

Inversion software that samples the film base to take out the orange mask uses the base as its colour reference. If any one channel of the base clips, that reference is off and the inverted colour takes on a cast. You can grade it out for one roll. But how far the base clips depends on the scan exposure and the light, so the setting you found won’t carry over to the next roll or the next day. Shoot right at the clip point, and even a small drift in the light can change the colour from one frame to the next.
02

Too bright loses the shadows; too dark leaves sensor noise in the highlights

The brightest part of a negative is the film base, which inverts to black, and the parts only a little denser than it become your shadows. Push the exposure until the base clips, and the shadow detail clips with it. The densest parts of the negative become your highlights. Give them too little light, and so little reaches the blue behind the orange mask that sensor noise stays in your highlights as specks of colour. The exposure that keeps the shadow detail without leaving specks of colour in the highlights is the brightest one at which the base still holds in every channel.

03

Your camera shows you where the JPEG clips, not the RAW

The histogram and zebras you check before the shot, and the highlight warning on playback, are all drawn from the image the camera has already rendered for the JPEG, after the picture profile’s tone curve and white balance. So when they say something has clipped, it is the JPEG that has clipped. They can’t tell you whether the RAW has. The two don’t clip at the same point, and how far apart they sit changes with the body and the picture profile. The built-in meter doesn’t read the JPEG, but what it gives you is a brightness reading, not the clip point. It is built to place the brightness it measures at a middle tone, so if you follow it, the exposure stops well short of the sensor’s ceiling.

04

The light drifts, so Loupe keeps measuring

Where the base clips depends on the stock’s mask, the light and the body. Even the same light won’t hold still: my LED panel drifted by about 0.1 EV within minutes of switching on, and by about 0.3 EV from one day to the next. A test frame checked in a RAW viewer finds the real clip point, but the light keeps drifting after that, and you can’t open every frame in a RAW viewer. Loupe runs that test in RAW for you and keeps checking each frame you shoot against it. If the light drifts, a mark on the thumbnail shows it within a few frames.

Before you fine-tune your inversion software again,
measure the scan exposure.

CHAPTER 01 EXPOSURE

Same negative. Different use of the sensor.

Camera auto-exposure used less than a third of what the sensor can record, even in the red channel, the brightest (24–32% across six frames). Loupe shot 1.6 to 2 EV brighter. Even so, not a single pixel clipped in this frame.

Side by side, they look almost the same. The difference shows when you zoom in, and when you edit. Drag the handle.

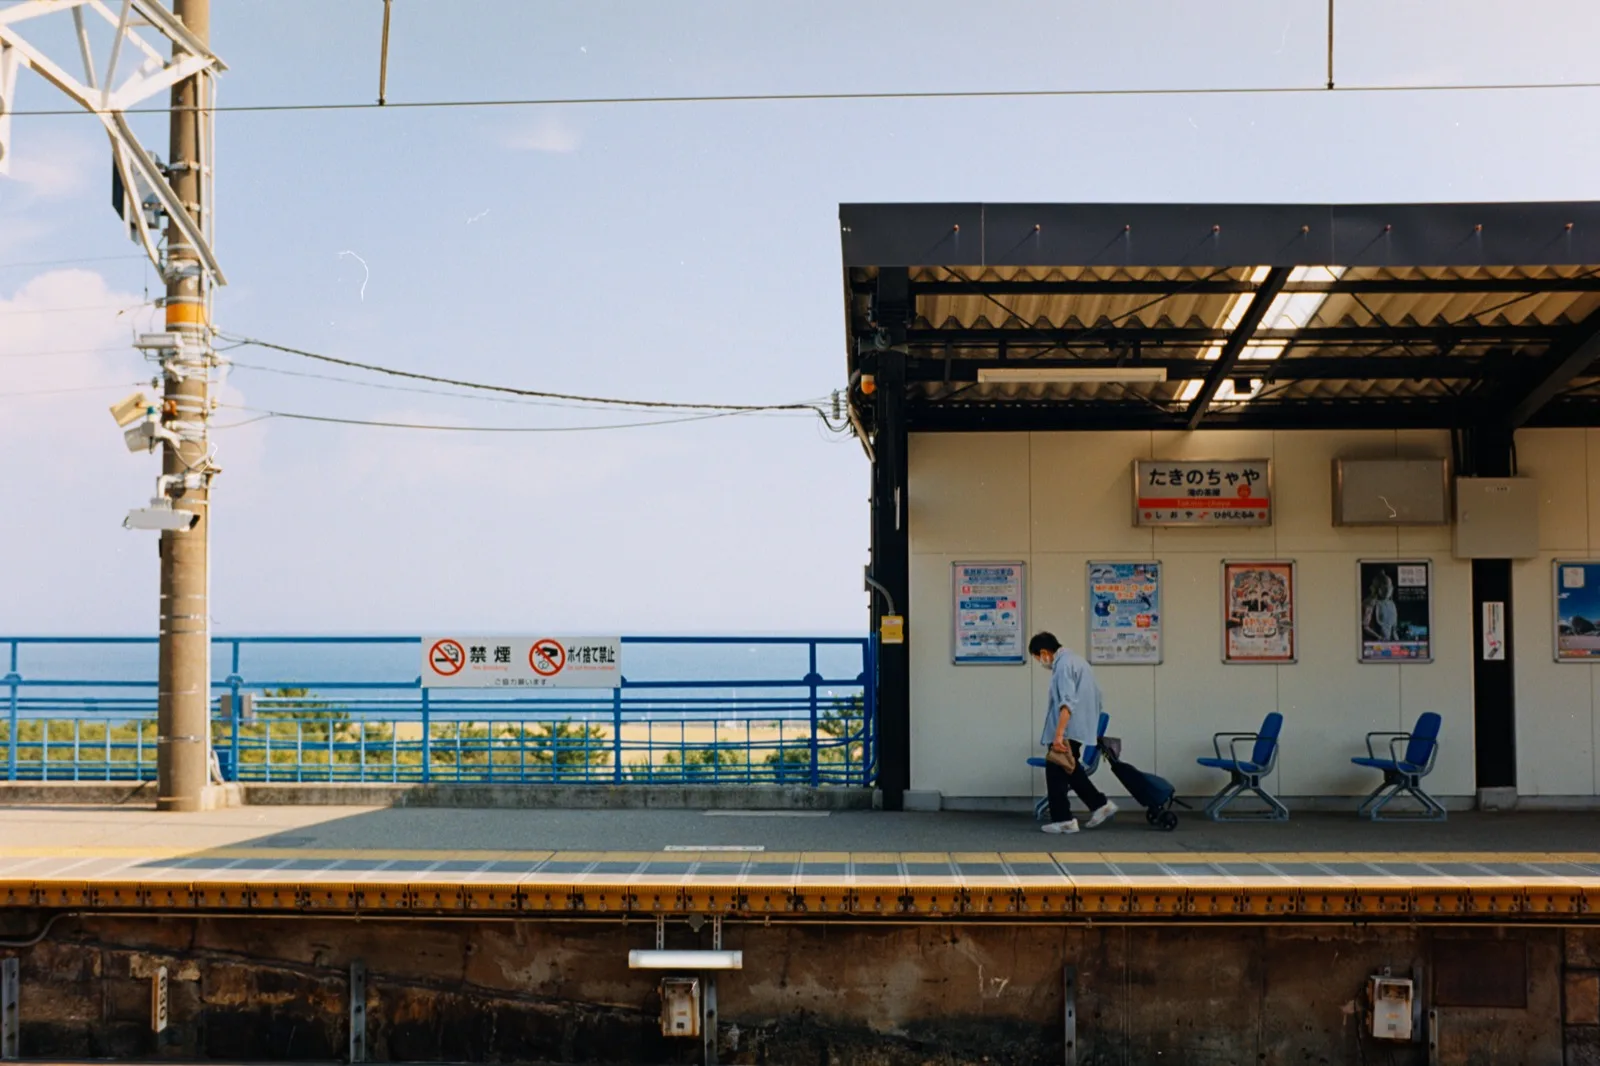
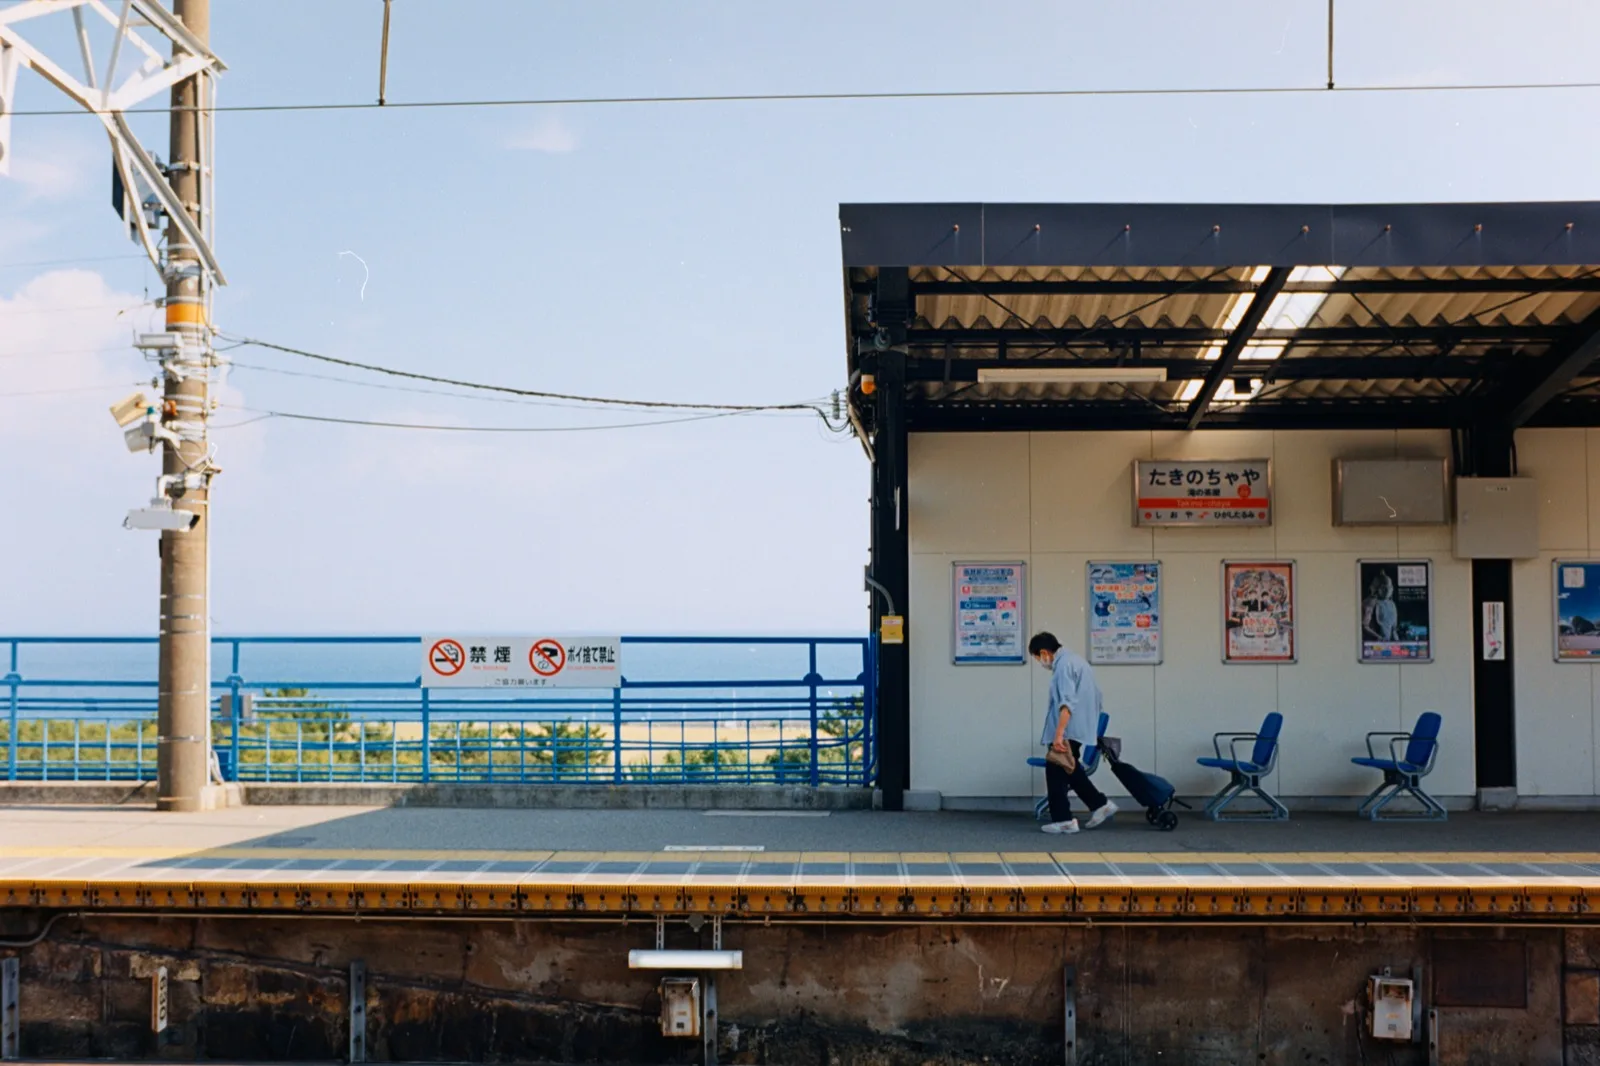
The whole frame after inversion. The boxes mark the sky and the stone wall enlarged below. Same negative, same camera and lens (f/6.3, ISO 100, fixed white balance), same inversion software on auto. Only the shutter speed differs: 1/250 on auto-exposure, 1/80 with Loupe (+1.64 EV). Any difference in colour comes from the software’s automatic correction.
The whole frame inverted from the scan shot on camera auto-exposure (1/250): a seaside station platform under a blue sky
The same frame inverted from the scan shot at Loupe’s exposure (1/80)
CAMERA AUTO-EXPOSURE METERED BY LOUPE
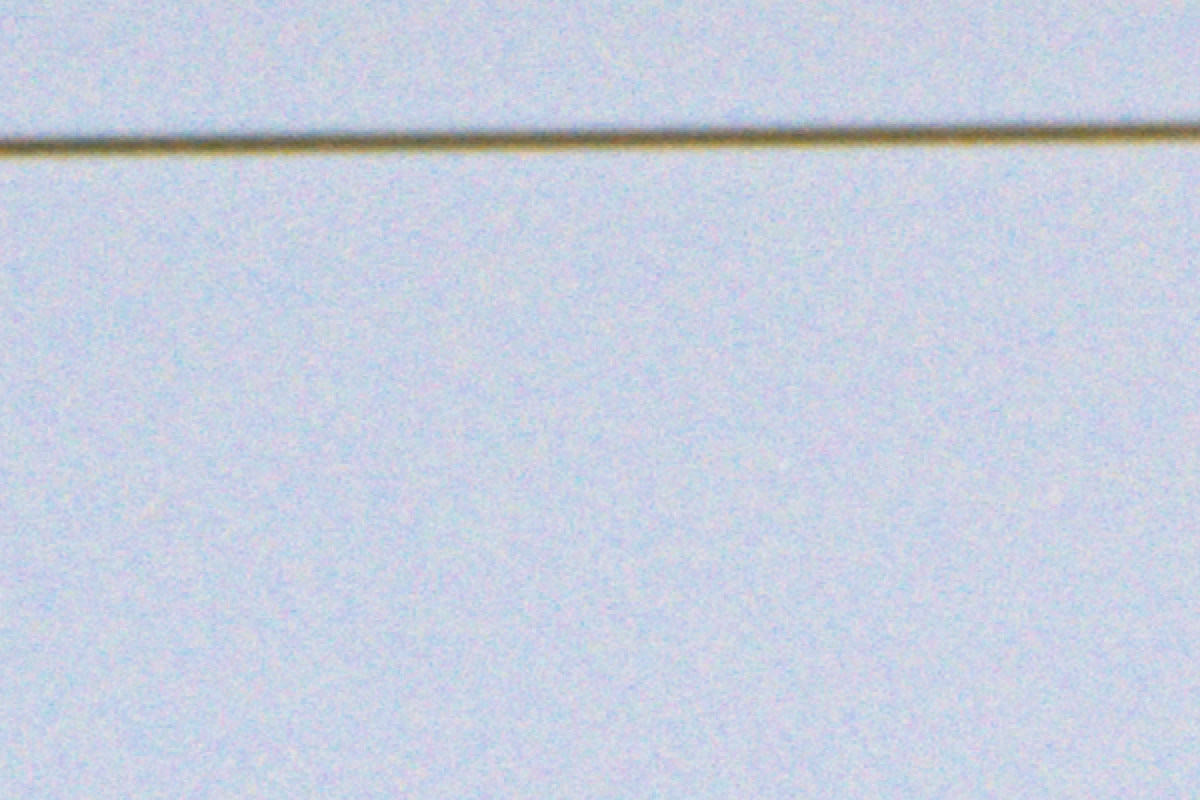
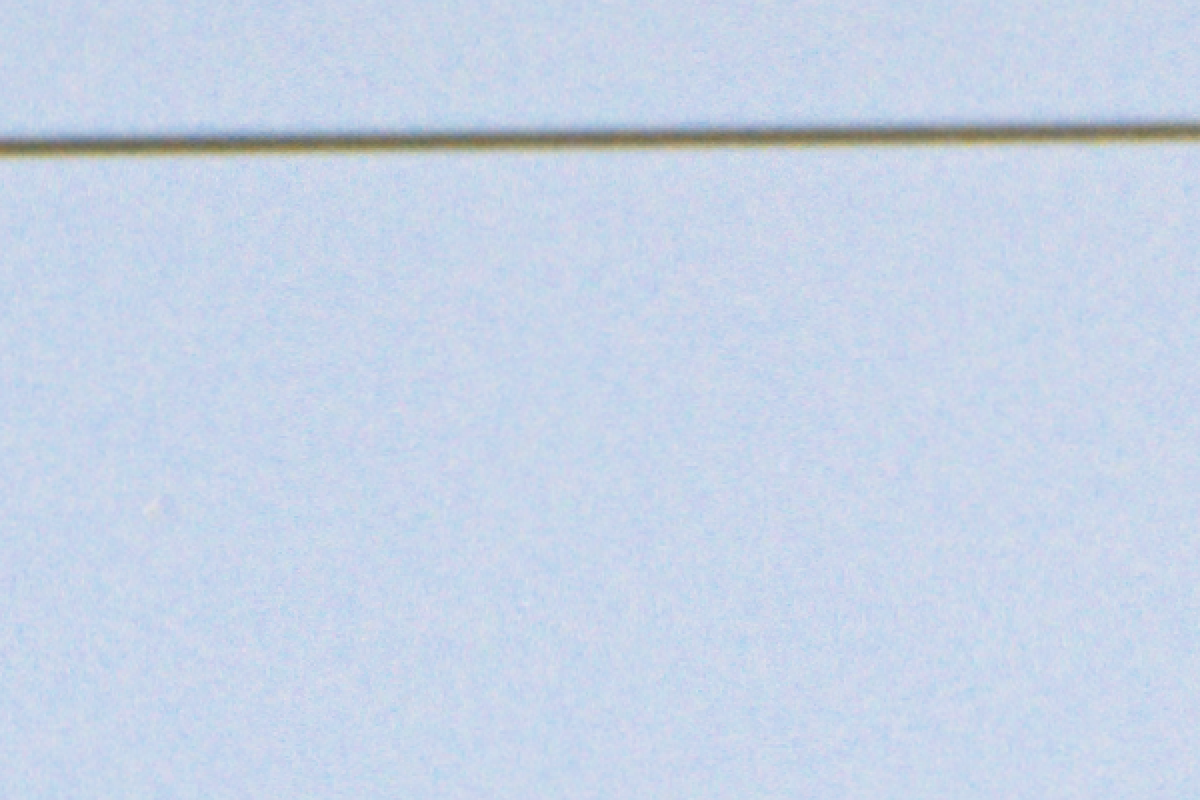
Part of the sky from the auto-exposure scan, enlarged: fine magenta and green specks over the blue
The same part of the sky from the scan at Loupe’s exposure: smooth
CAMERA AUTO-EXPOSURE METERED BY LOUPE
Part of the sky, enlarged. The densest part of the negative.

A cleaner sky

The gain is largest in the densest parts of the negative, which become the bright parts of the picture, like the sky. On auto-exposure, the blue of the sky was recorded at just 0.29% of full scale. With Loupe, 0.91%.

Zoom into the sky, and auto-exposure leaves fine magenta and green specks on it. Loupe’s sky is smooth. The film grain is the same in both, and most of the fine roughness in the sky is sensor noise. Measured on this crop, there is 32% less noise and 38–40% less colour noise. On auto-exposure, one pixel in seven (14.3%) was a speck clearly off from the colour around it. With Loupe, 0.6%.

Push the sky, and the gap widens. The same edit applies 2× contrast and 1.6× saturation to both.

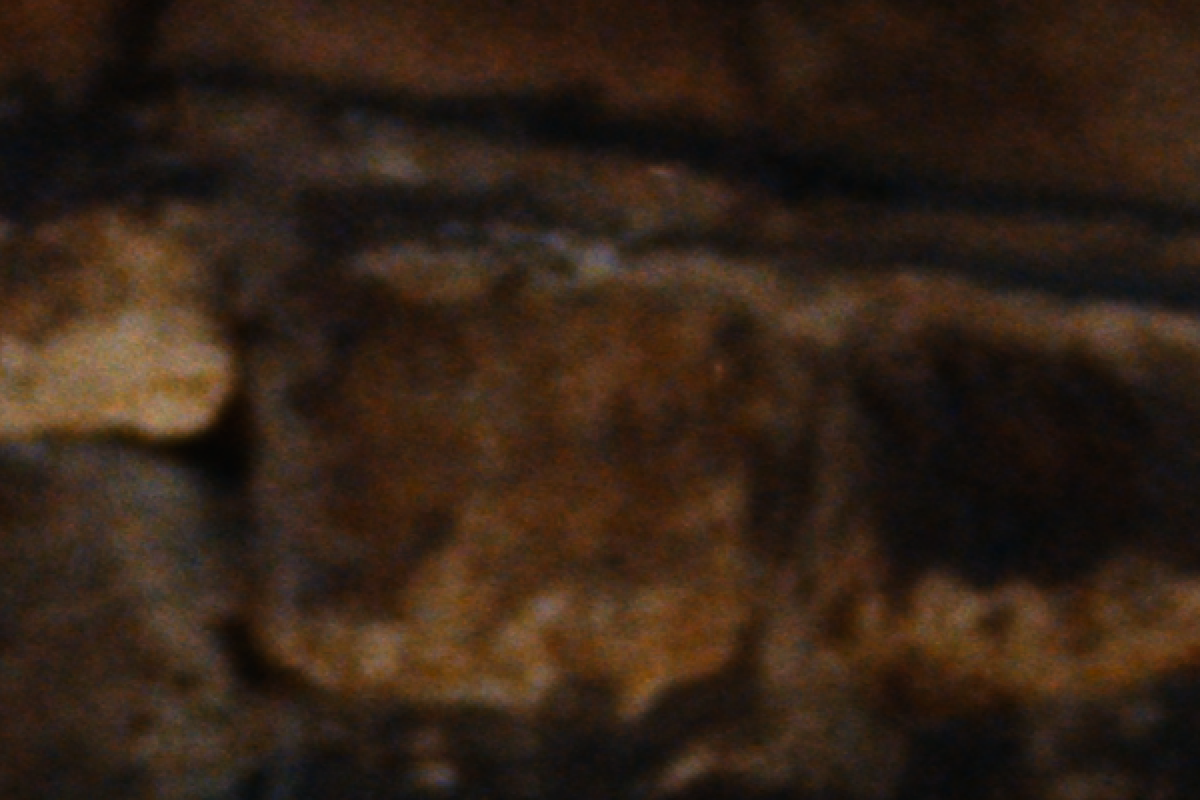
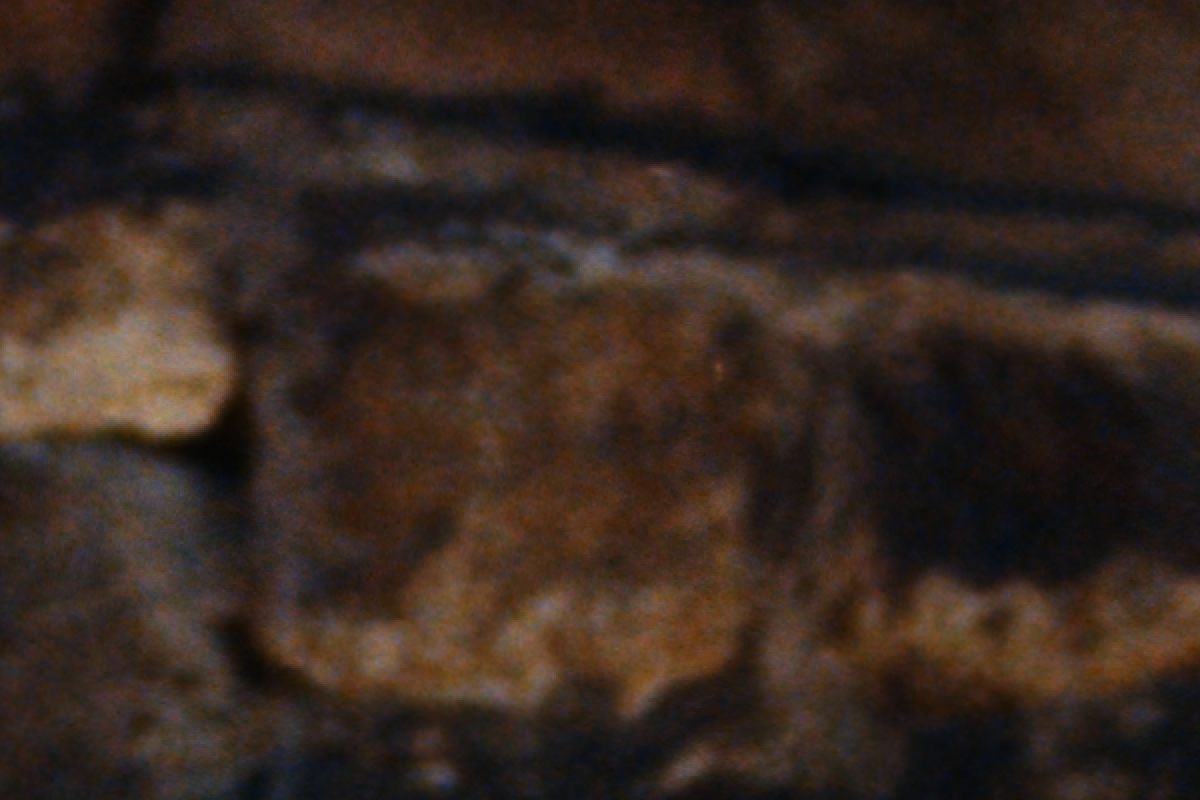
Part of the stone wall from the auto-exposure scan, enlarged
The same part of the stone wall from the scan at Loupe’s exposure, almost identical
CAMERA AUTO-EXPOSURE METERED BY LOUPE
Part of the stone wall, enlarged. A thin part of the negative.

The shadows barely change

In the shadows, the thin parts of the negative, both exposures got plenty of light, so there is almost no difference: Loupe’s noise is 0.96 times that of auto-exposure. Loupe helps where the light was short.

Even a small difference in noise and colour mottling grows quickly once you invert the negative and start editing.To get natural colour and tone in the end, you need to use as much of the sensor as possible for a clean capture from the start.

THE CALIBRATION INSTRUMENT

Loupe measures the clip point in RAW,
for every roll, under that day’s light.

Once per roll, Loupe calibrates. Draw a box over the unexposed film base in the live view, and Loupe steps the shutter speed in 1/3 EV increments and reads that box in RAW. From that it finds where clipping really begins, and recommends the exposure just short of it.

SCAN EXPOSURE →
JPEG right edge: somewhere in here
RAW clip, measured
Recommended
Where it sits depends on the body and picture profile
Margin kept: 0.15–0.4 EV
Each bar is the base read in RAW, one 1/3 EV step brighter than the last. Where the bars stop growing, RAW has clipped.
THE EXPOSURE INSTRUMENT

Measure once. Then it just watches for drift.

With the baseline measured, there’s no longer any need to trust the JPEG. The live verdict now watches one thing: whether shutter speed, ISO or white balance (and aperture, when the lens reports it) has moved from the calibrated settings. It can’t see the light itself: dim your light’s RGB channels and the camera reports nothing. So the light is checked on the RAW of each frame you capture.

THE VERDICT
Within ±1⁠/⁠6 EV of the calibrated settings: CAL ✓. Beyond it: the deviation, with a sign. The RAW −0.xx EV beside it is a different number: the headroom to clipping measured at calibration. Once a bright-side deviation exceeds that headroom: CLIP RISK.
LIGHT DRIFT
Each dot is one frame’s base against calibration. The warning comes once the median of the last three frames crosses 1/3 EV.
AFTER CAPTURE
Only the frame that clipped gets a mark.

CHAPTER 02 FOCUS

THE FOCUS INSTRUMENT

Your eye knows when it’s in focus.
Loupe measures where it peaks.

Peaking tells you an edge is in focus. It can’t tell you whether turning the ring a little further would make it sharper, and when you want to resolve grain, that difference shows up in the scan. Loupe gives the same live view a sharpness score: turn the ring, watch the number rise, and stop where it stops rising.

Film grain at 100%, focused by camera peaking: the grain is soft
The same grain at the peak of Loupe’s focus score: the grain is crisp
CAMERA PEAKING SCORE · AT PEAK
Focus comparison: the same frame, a 100% crop of the grain.

CAMERA PEAKINGPeaking lit up, my eye said it was fine, and I pressed the shutter.

SCORE · AT PEAKI kept turning the focus ring until Loupe’s score stopped rising.

63% Sharpness of the grain on the peaking side, taking Loupe’s side as 100%

Experience can put your focus inside the in-focus zone. Loupe gives that experience a clear ruler.

Measured on an α7R VI with an APO-LANTHAR 110mm at f/6.3.

  • The score peaks where the RAW file is sharpest.
  • Stop turning the ring, and the score moves less than 0.5%.
  • Focus shifts down to a fifth of the in-focus zone show up in the score.
THE SPEC SHEET — 15 LINES

01 CALIBRATION

MARGIN
Loupe recommends the slowest shutter speed (the brightest exposure) that leaves 0.15–0.4 EV before the base clips in RAW. Speeds come in 1⁠/⁠3 stops, so the margin lands somewhere in that band. That 0.15 EV minimum is kept on purpose, to absorb light drift. Measured twice under the same light, the results agreed to within 0.0008 EV (α7R VI, n = 2).
PHYSICS
Wherever an image sits on a negative, it is denser than the unexposed base beside it, so nothing on the strip passes more light than that base. Calibrate on the base and, as long as the light, the settings and the film stay the same, no frame will clip. The exception is a scratch or a pinhole, where the emulsion is simply gone: that behaves like “no film” and it does clip. The post-capture check catches those. B&W included: it’s a negative too.
HONEST
The wizard grades its own data. Shots whose readings don’t fit the sweep are flagged and excluded, whatever the cause: dust, a light leak, a knock to the stand. An uneven patch of base gets called out. And when the numbers can’t support a recommendation, it says so instead of guessing.
NO PRESETS
There are no film-stock presets, on purpose. All a preset holds is the light you had the day you saved it. Loupe re-measures your actual film under your actual light, every time.

02 EXPOSURE

THE VERDICT
CAL ✓ while your settings are within ±1⁠/⁠6 EV of the ones you calibrated with, a tolerance that absorbs 1⁠/⁠3-stop rounding. Beyond that you get the signed deviation in EV, or WB ≠ CAL when only white balance has moved. The RAW −0.xx EV shown beside it is a different number: the headroom to clipping measured at calibration. When a deviation on the bright side exceeds that headroom, you get CLIP RISK, even inside ±1⁠/⁠6 EV.
LIGHT DRIFT
Loupe compares each frame’s RAW with the base recorded at calibration, and warns when the median of the last three frames is more than 1⁠/⁠3 EV off. One stray frame won’t trigger it.
UNCALIBRATED
Before calibration you still get a provisional verdict. It is read from the live-view JPEG, so treat it as a guide until Loupe measures in RAW: it targets 92–97% of full scale for the brightest channel, with a warning at 5 clipped pixels and Clip at 50, counted over the last second.
HISTOGRAM
Per channel, smoothed over the last second, with 1024 levels in the detail view. There, every number is labelled with its source: live JPEG, calibration measurement or RAW estimate.
AFTER CAPTURE
Every frame’s RAW is checked in the background; a ⚠ appears only on the thumbnail of a frame that clipped.

03 FOCUS

PEAKING
Continuous sensitivity and opacity. Yellow, red, white, cyan, or automatic, which picks whatever stands out against the frame.
SCORE 0–100
Brightness doesn’t change the score, so a dense frame isn’t marked down for being dark. The scale is set on the frame in front of you: read it as climbing or levelling off, not as a grade. It is computed on the live view (1024×680 on the α7R VI) in 16×12 blocks, as the variance of the Laplacian over the mean squared Sobel gradient, then a 20% trimmed mean of the blocks that carry detail. With the magnifier on, the same formula runs on the magnified view.
VERDICT
AT PEAK / NEAR / SEARCHING, with peak-hold, and CALIBRATING while the scale is being learned.
MAGNIFIER
The camera’s ×4.2 / ×8.5 magnifier from the keyboard: M to cycle, arrows to pan.
HEATMAP
Sharpness across 48, 192 or 768 zones. Each colour shows how sharp a zone is relative to the rest of the frame.
AUTO ROI
Once it finds the film frame, Loupe scores only the picture inside it, so the negative carrier and the film’s edges (sprocket holes, edge print) never get mixed into the number. 133 of 134 real scans detected at high confidence. If it misses the frame or locks onto the wrong place, you place the box by hand.

Tethering built for film scanning

Loupe
Generic tethering
Built for
Film scanning
Portrait sessions
Exposure judgment
RAW-measured verdict + signed EV deviation
A JPEG histogram; read it yourself
Focus
Live 0–100 score + 192-zone map
Your own eyes
After capture
Automatic per-frame RAW clip check
Open each file and look
When another app grabs the camera
Names the app holding it, recovers in ~0.5 s
Unplug, replug, see what happens

Measured: 535 ms to recover a USB connection another app was holding (a 285-second hang before I fixed it); 440 ms for a normal connection. Teardown on quit: 47 ms. Quit with ⌘Q and your camera never stays stuck in PC Remote. Force-quit skips teardown, and then you do need to replug.

General-purpose tethering apps are excellent tools, built for portrait sessions rather than film scanning.

What changes from your first roll

①

The colour reference stays intact

At the recommended exposure the base holds in every channel, so the colour your inversion software takes out as the mask is the right one.

②

Shadows and highlights both survive

The recommended exposure is the brightest one that still holds the base, so the shadows aren’t clipped and the highlights get as many levels as they can.

③

See how many stops you have before clipping

The clip point is measured in RAW, and the exposure is set 0.15–0.4 EV short of it. The margin you’re keeping stays on screen while you shoot.

④

It speaks up only when something moves

If the light drifts or a frame clips, a mark on the thumbnail shows it within a few frames. Otherwise nothing appears, and you keep shooting without checking the back screen. If you come back to a roll another day, one check shot tells you whether the base reading has shifted.

One-time. Like your film gear.

LAUNCH · −20%
$99$79.20one-time purchase

Launch price until December 16, 23:59 JST, taken off automatically at checkout. $99 after that.

Camera, macro lens, stand, light. Assemble all of it, and if the scan exposure is off, none of what that gear can do reaches the finished picture. The $99 is for closing that gap.

  • ✓7-day full trial: just an email and a 6-digit code, no credit card
  • ✓30-day money-back guarantee, no questions asked, once per customer
  • ✓All future updates included, with no upgrade fees
  • ✓Works offline for up to 30 days between checks, so losing the connection never stops a session
  • ✓Developer ID signed & notarized by Apple · direct download

Or: less than lab scans for ten rolls.

Questions

PRICE
$99 one-time (20% off until December 16: $79.20)
REQUIRES
macOS 14.1+ on Apple Silicon (M1 or later)
CAMERAS
SONY bodies on the Camera Remote SDK (v2.02.00) list, verified in-house on the α7R VI
TRIAL
7 days, every feature, no credit card
REFUND
30 days, once per customer
DOES NOT
Invert negatives (that stays with your inversion software)
IS YOUR CAMERA SUPPORTED?

Loupe drives SONY bodies through the Camera Remote SDK (v2.02.00). The current version is verified in-house on the α7R VI; earlier versions were verified across every feature on the α1. Other bodies on the SDK’s supported list should work, but I won’t say “guaranteed” about hardware I haven’t tested myself, which is why there’s a 7-day trial for your own rig.

VERIFIED IN-HOUSE
  • ✓ α7R VI (ILCE-7RM6)
  • ✓ α1 (ILCE-1)
ON THE CAMERA REMOTE SDK LIST (v2.02.00)
  • α1 II (ILCE-1M2)
  • α9 III (ILCE-9M3)
  • α9 II (ILCE-9M2)
  • α7R V (ILCE-7RM5)
  • α7R IVA (ILCE-7RM4A)
  • α7R IV (ILCE-7RM4)
  • α7S III (ILCE-7SM3)
  • α7 V (ILCE-7M5)
  • α7 IV (ILCE-7M4)
  • α7C II (ILCE-7CM2)
  • α7CR (ILCE-7CR)
  • α7C (ILCE-7C)
  • α6700 (ILCE-6700)
  • ILX-LR1
  • ZV-E1
  • ZV-E10 II (ZV-E10M2)
  • RX1R III (DSC-RX1RM3)
  • RX0 II (DSC-RX0M2) — Ver. 3.00+
  • FX3 (ILME-FX3) — Ver. 2.00+
  • FX3A (ILME-FX3A)
  • FX2 (ILME-FX2)
  • FX30 (ILME-FX30)

These should work, but have not been tested in-house. The 7-day trial is the way to be sure on your own rig.

  • Per the SDK’s specification, the α9 II and α7R IV don’t send the camera’s “captured” notice, so part of Loupe’s wait-for-transfer handling (bursts, PSMS) doesn’t apply.
  • On the α7R VI, the lossy compressed RAW options (Compressed and Compressed HQ) can’t be read by macOS, so the RAW-based verdict and calibration don’t work with them; Loupe warns you. Shoot lossless compressed RAW.

The Camera Remote SDK page (“Supported device”) ↗

Is Loupe for camera scanning, or for a film scanner?

Camera scanning: digitising film by photographing it with a digital camera and a macro lens over a light source. You may know it as DSLR scanning, though a mirrorless body does the same job. Loupe tethers that camera to your Mac. It doesn’t drive flatbed or dedicated film scanners.

What is ETTR, and is it what Loupe does?

ETTR, short for “expose to the right”, means exposing as brightly as you can without clipping, so the histogram sits as far right as it will go. More light means less visible noise. On a negative, the brightest thing is the film base, so for camera scanning, ETTR is the brightest exposure at which the base still holds in every channel. That is the exposure Loupe finds. What differs from doing it by hand is where clipping is checked: Loupe checks it in the RAW, not on the camera’s JPEG histogram, and keeps checking every frame you shoot against that result.

Does it run on Intel Macs?

No. The analysis (focus scoring, histograms, overlays) runs on the GPU (Metal) every frame, so Loupe requires Apple Silicon (M1 or later) and macOS 14.1+.

How does the trial work?

Enter your email, type the 6-digit code sent to you, and you have every feature for 7 days. No credit card. One trial per Mac and email address.

Does it invert negatives?

No, by design. Loupe’s whole job is capturing the best possible negative. Inversion and colour belong to the tools that do them best: the inversion software you already use, and Argent when it arrives. Loupe makes their input consistent.

What about slides and B&W?

B&W is a negative, so it is fully covered, calibration and all. Slides invert the physics: on reversal film the unexposed area develops to maximum density, so there is no part of the film that’s reliably the brightest thing in every frame. The brightest thing is a scene highlight that changes shot to shot, which puts you back in the guesswork of ordinary photography. So in positive mode the exposure verdict drops from a calibrated call to an estimate, and the shadow zebra switches itself off (check your results frame by frame). The focus score, the zone map and the post-capture RAW check all work as usual. I’d rather tell you that here than let you find out later.

Why isn’t it on the App Store?

Loupe is sold directly from this site. Checkout is handled by Link, Stripe’s checkout service, which also takes care of currency, tax and your receipt. Builds are Developer ID signed and notarized by Apple, and macOS verifies every copy before it runs.

I bought Loupe during my trial. Why does it still say trial?

Your purchase is registered immediately; the app’s label switches over automatically when the trial period ends. Want it to say “Lifetime license” right now? Sign out and back in once.

How does the refund work?

Write to me within 30 days of purchase and you get the full price back. I won’t ask why. Two things worth knowing: the refund releases the licence, so Loupe stops opening on your Mac, and the guarantee is good for one refund per customer. The 7-day trial is there so you can decide before paying at all.

Does it support Pixel Shift Multi Shooting?

Not as a single frame. With Pixel Shift Multi Shooting on, the shutter still fires and the camera still sends its RAW files: on the α7R VI in its 16-shot setting, 16 of them for one press, taking about 28 seconds to arrive. But Loupe can’t control PSMS, and it treats only the first file as the frame: that one gets Loupe’s frame name, and the other 15 land in your save folder under the camera’s own DSCxxxxx names, with nothing to tie them to their frame. Loupe doesn’t composite them, and the SDK has no way to do it either. Leave PSMS off and shoot single frames.

Measure, then shoot.
If anything drifts, Loupe tells you.

One calibration per roll.

Developer ID signed · Notarized by Apple · Stripe checkout · 30-day money-back